How it works
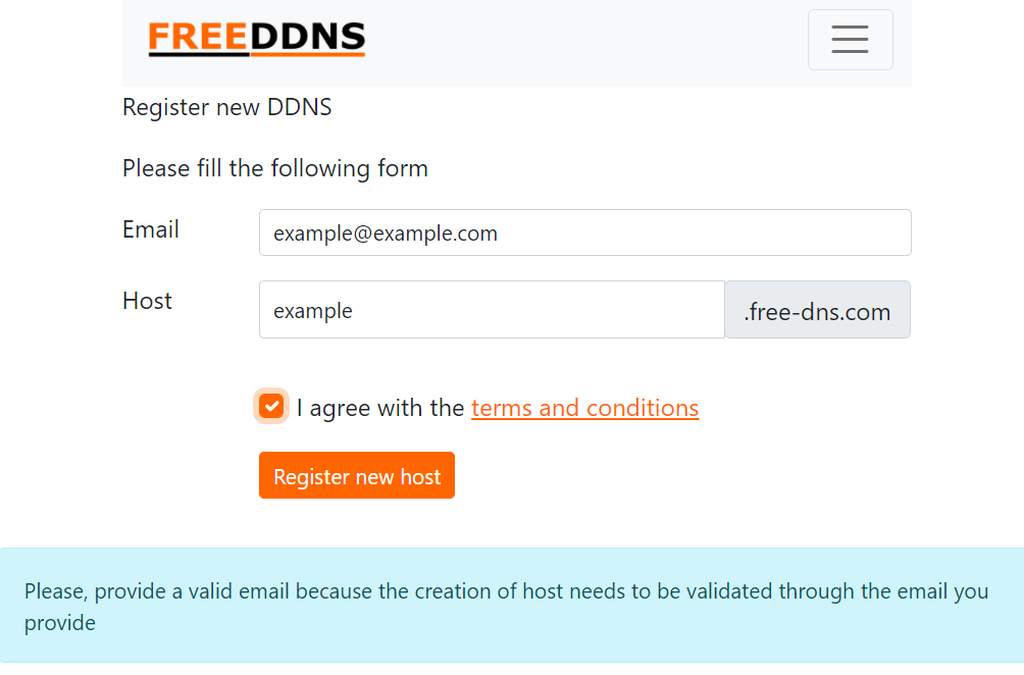
1. Register a new host with your email address

2. You will receive an email for host validation. The host will not be in the DNS until validated.

3. After the validation of the host you can ping the DDNS service with the provided url

In this example you can ping using the url:
https://free-ddns.com/set/example.free-ddns.com/dea37e84a758192a328e03fbc891b525or the equivalent URL
https://free-ddns.com/hit.php?dns=example.free-ddns.com&key=dea37e84a758192a328e03fbc891b5254. Configure your cron or scheduler to ping regularly
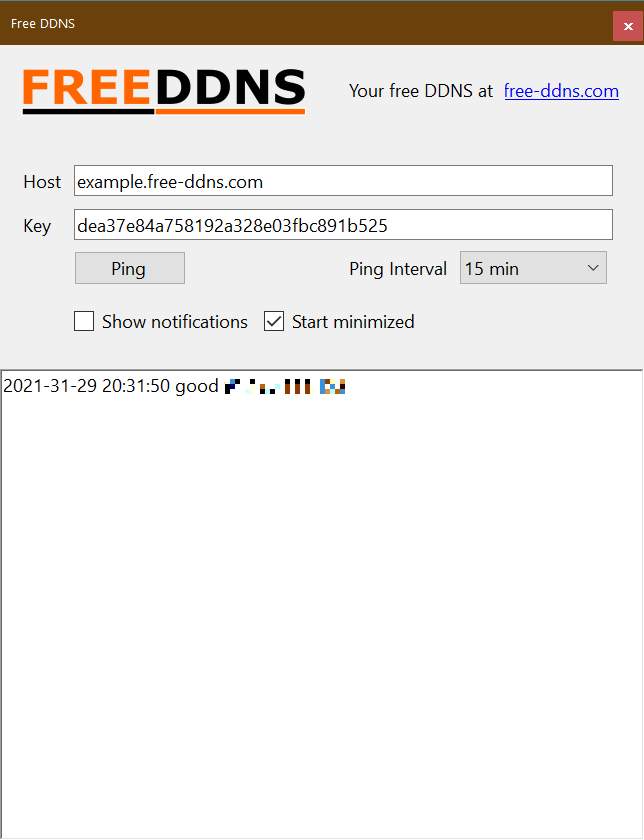
Windows users use the free-ddns ping utility

As an alternative method, install curl for windows and create a new Scheduled Task with the command
curl --silent https://free-ddns.com/set/example.free-ddns.com/dea37e84a758192a328e03fbc891b525If you have a Linux operating system you can easy configure
Add the following line to the cron (use the command crontab -e)
* 1 * * * /usr/bin/curl --silent https://free-ddns.com/set/example.free-ddns.com/dea37e84a758192a328e03fbc891b525 &>/dev/nullIf you have a Synology NAS (width DSM 6.x+) you can use free-ddns as DDNS Service Provider
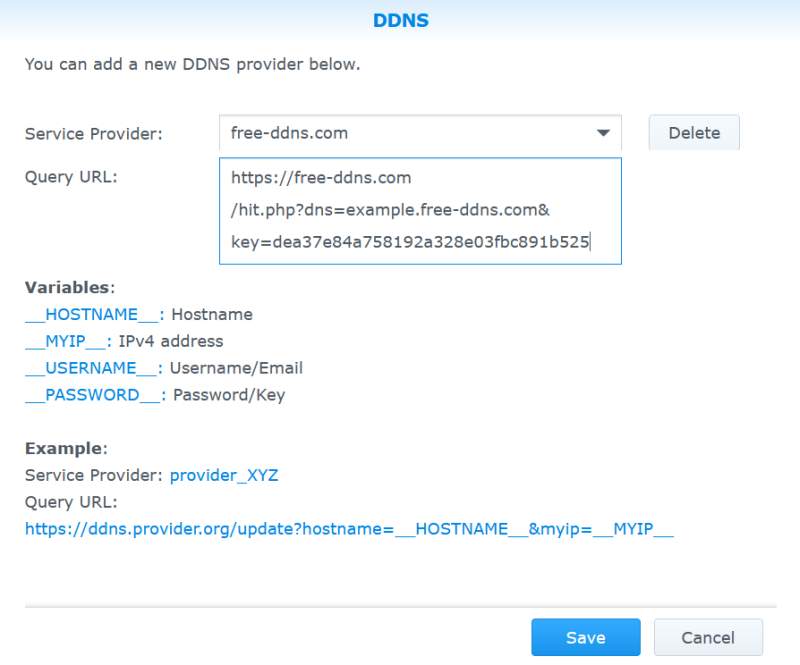
In Control Panel > External Access press the button Customize
Write free-ddns.com as Service Provider and paste the url into the Query URL and press the Save button

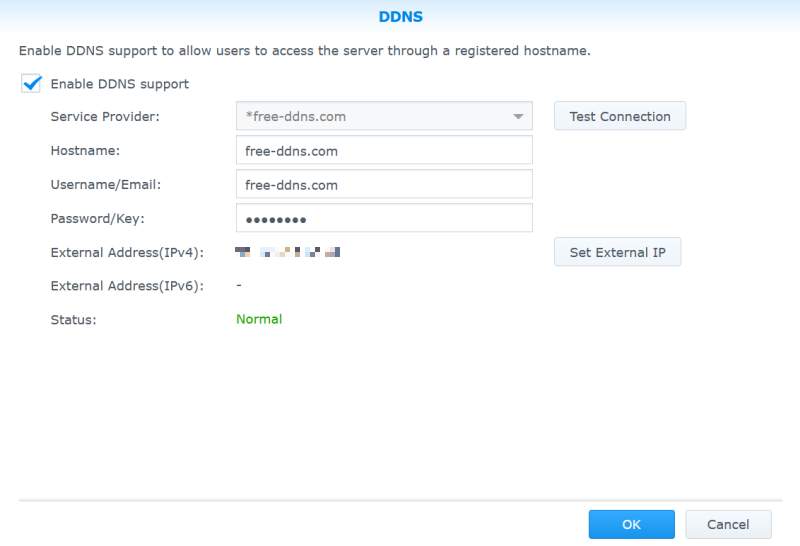
Add a new DDNS of type free-ddns.com

Then the DDNS is configured and running

You can use ddclient to update.
use the following configuration (usually in /etc/ddclient.conf)
                    protocol=dyndns2

                    ssl=yes

                    server=free-ddns.com

                    login=your_host_without_domain

                    password='your_host_key'

                    your_host.free-ddns.com
You can use a dyndns2 protocol compatible client to update on your DD-WRT router, IP camera or similar
use the following data in your compatible client:
- Protocol: dyndns2
- Server: free-ddns.com
- User: your_host_without_domain
- Password: your_host_key
- Host: your_host.free-ddns.com